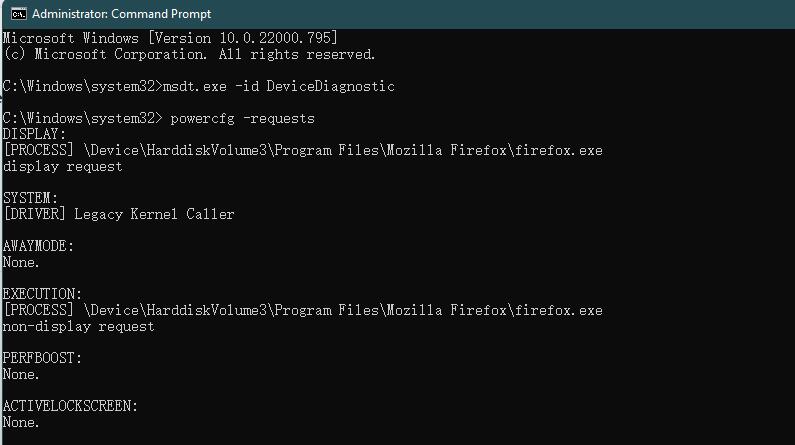
As FreeBSD 13.2 is EOF and FreeBSD 14.0 is released, so I think it’s time to update my server to FreeBSD 14.
So I updated the server as what I did before.
freebsd-update -r 14.0-RELEASE upgrade
 freebsd-update install
 shutdown -r now
 freebsd-update install
And when I also noticed that FreeBSD 14 updated zpool verson and introduce some new features, so I also updated zpool as well.
zpool upgrade zroot
And also updated bootcode on all disks, this is very important.
gpart bootcode -b /boot/pmbr -p /boot/gptzfsboot -i 1 da0
 ...
 gpart bootcode -b /boot/pmbr -p /boot/gptzfsboot -i 1 da7
And the final step is to reboot the server to finish upgrade.
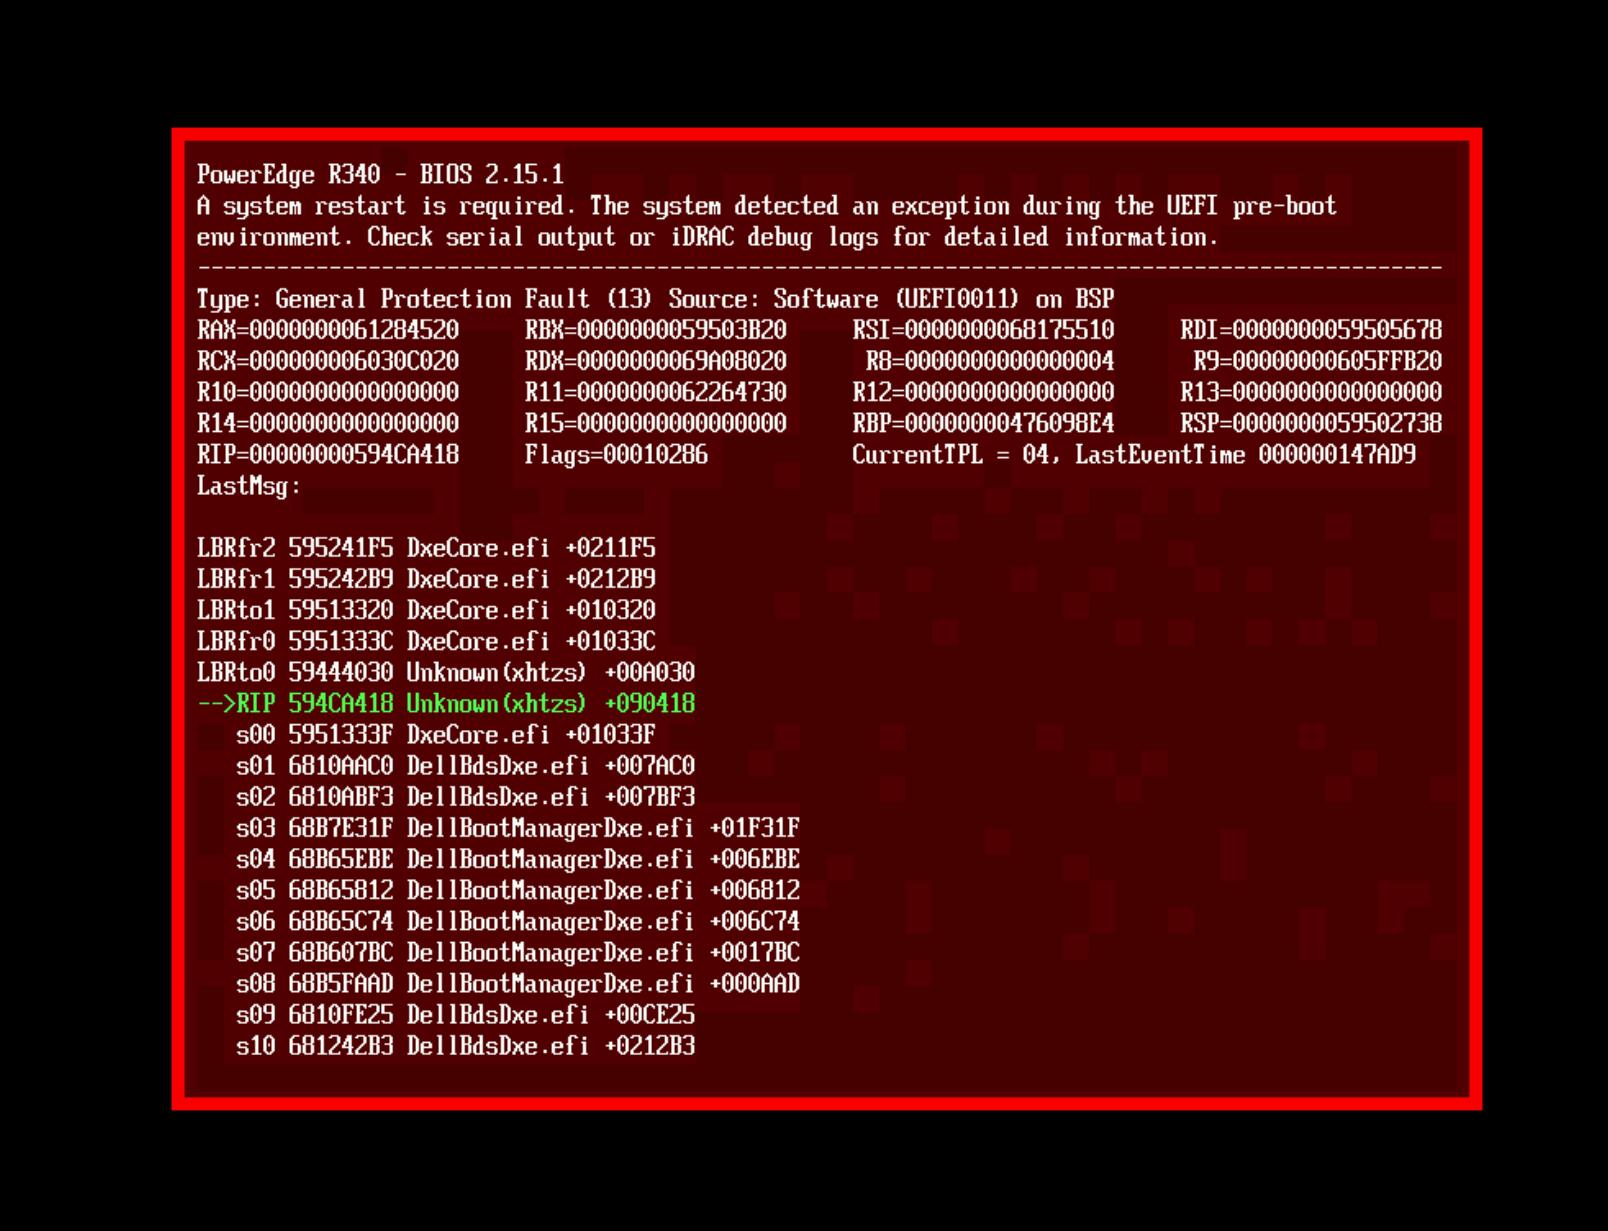
Then, server can’t boot. I got below error.
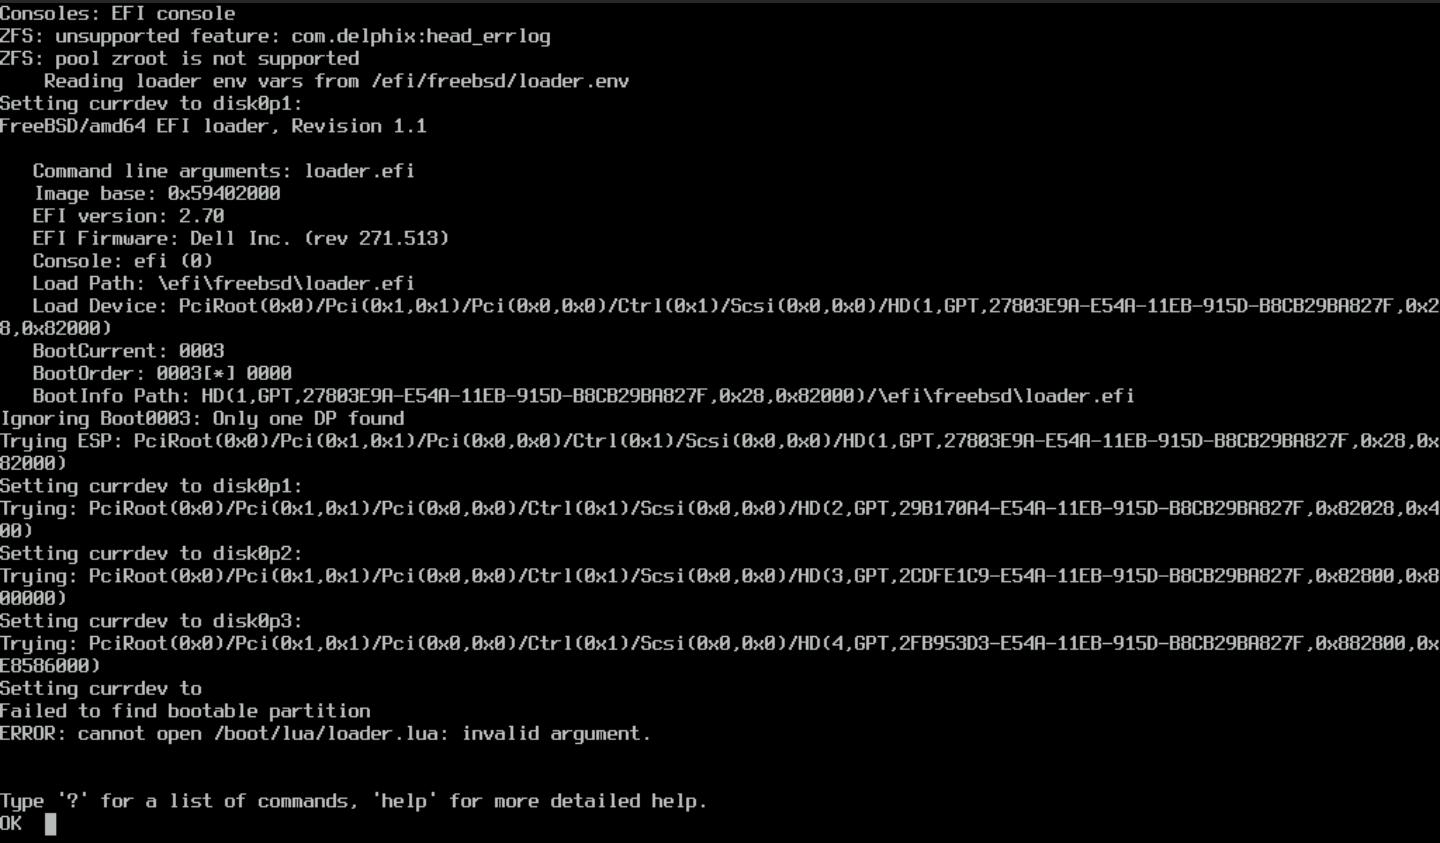
And gpart can find all disks and partition.

What’s happening? I updated bootcode why I still get this error?
And then I did some research, and found that in FreeBSD 14 release note, it’s mentioned
There have been a number of improvements in the boot loaders, and upgrading the boot loader on the boot partition is recommended in most cases, in particular if the system boots via EFI. If the root is on a ZFS file system, updating the boot loader is mandatory if the pool is to be upgraded, and the boot loader update must be done first. Note that ZFS pool upgrades are not recommended for root file systems in most cases, but updating the boot loader can avoid making the system unbootable if the pool is upgraded in the future. The bootstrap update procedure depends on the boot method (EFI or BIOS), and also on the disk partitioning scheme. The next several sections address each in turn.
Well, this is something new in FreeBSD 14, and I didn’t update EFI boot file and that’s why I’m facing this issue.
So, spend some time to fix the boot issue.
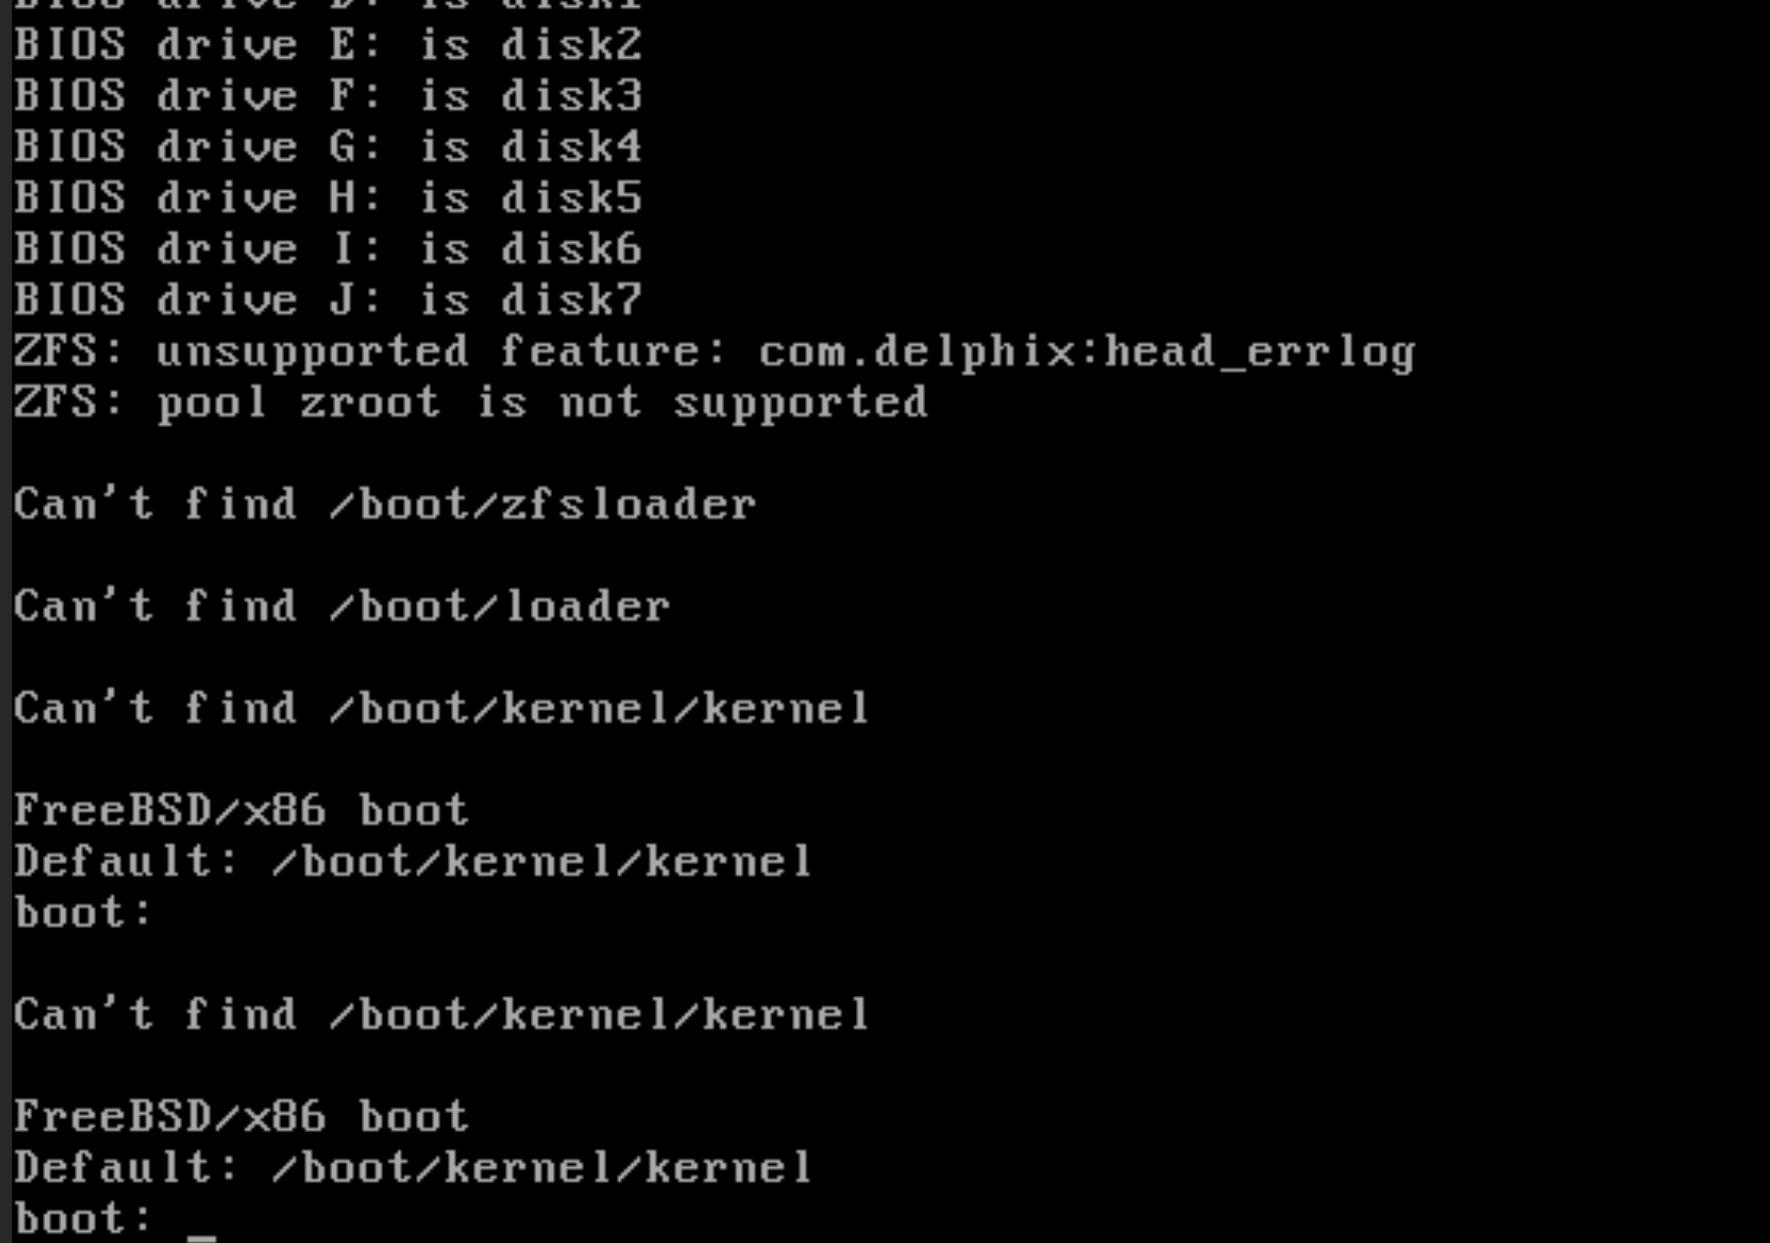
First, I tried to change bios from BIOS to UEFI, to see if I can boot the server via BIOS. But unfortunately, it’s not working, and got below error.
So, the only choice is to boot the server with liveCD and fix it.
Select 1, boot installer here. Do not select 2 single mode as single mode is readonly.
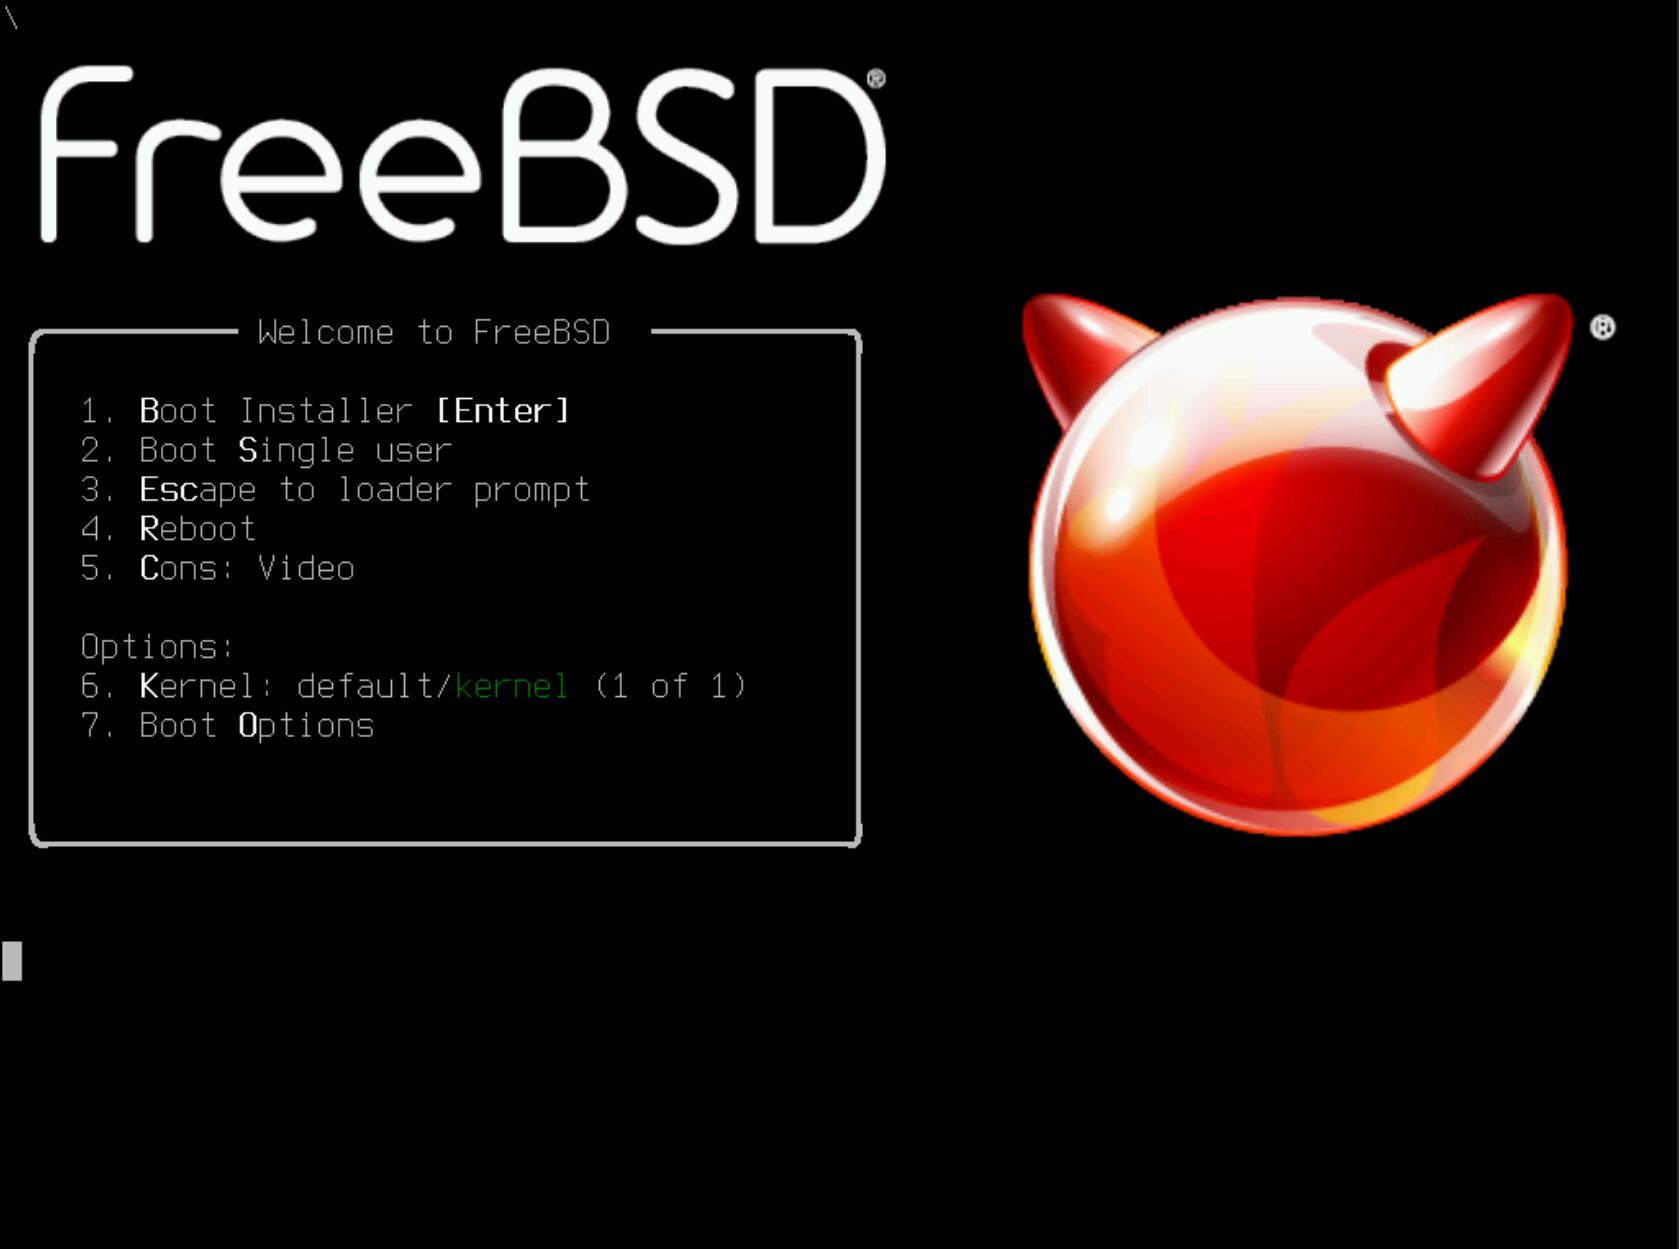
Select liveCD
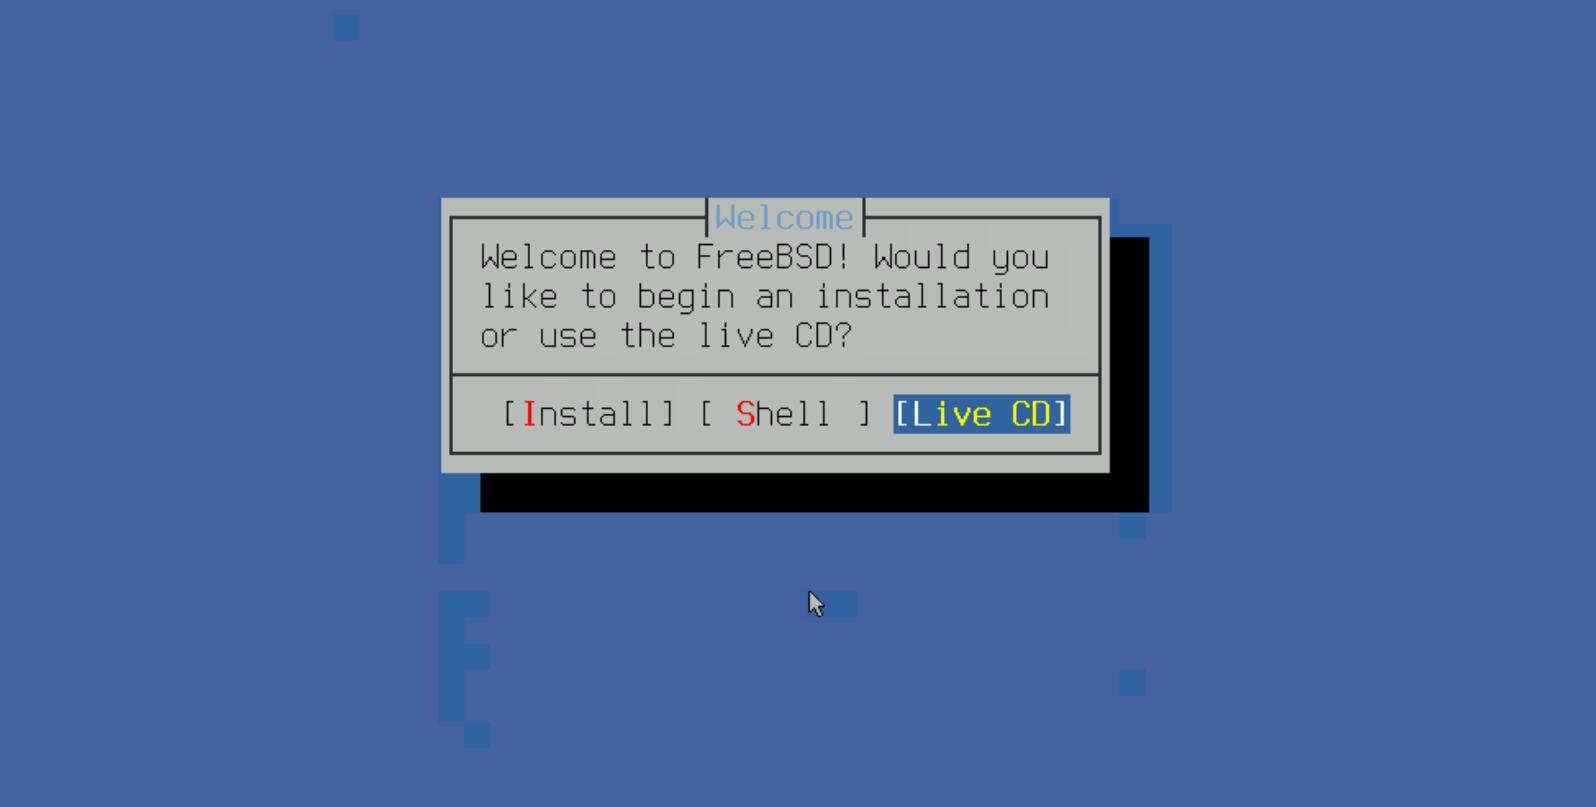
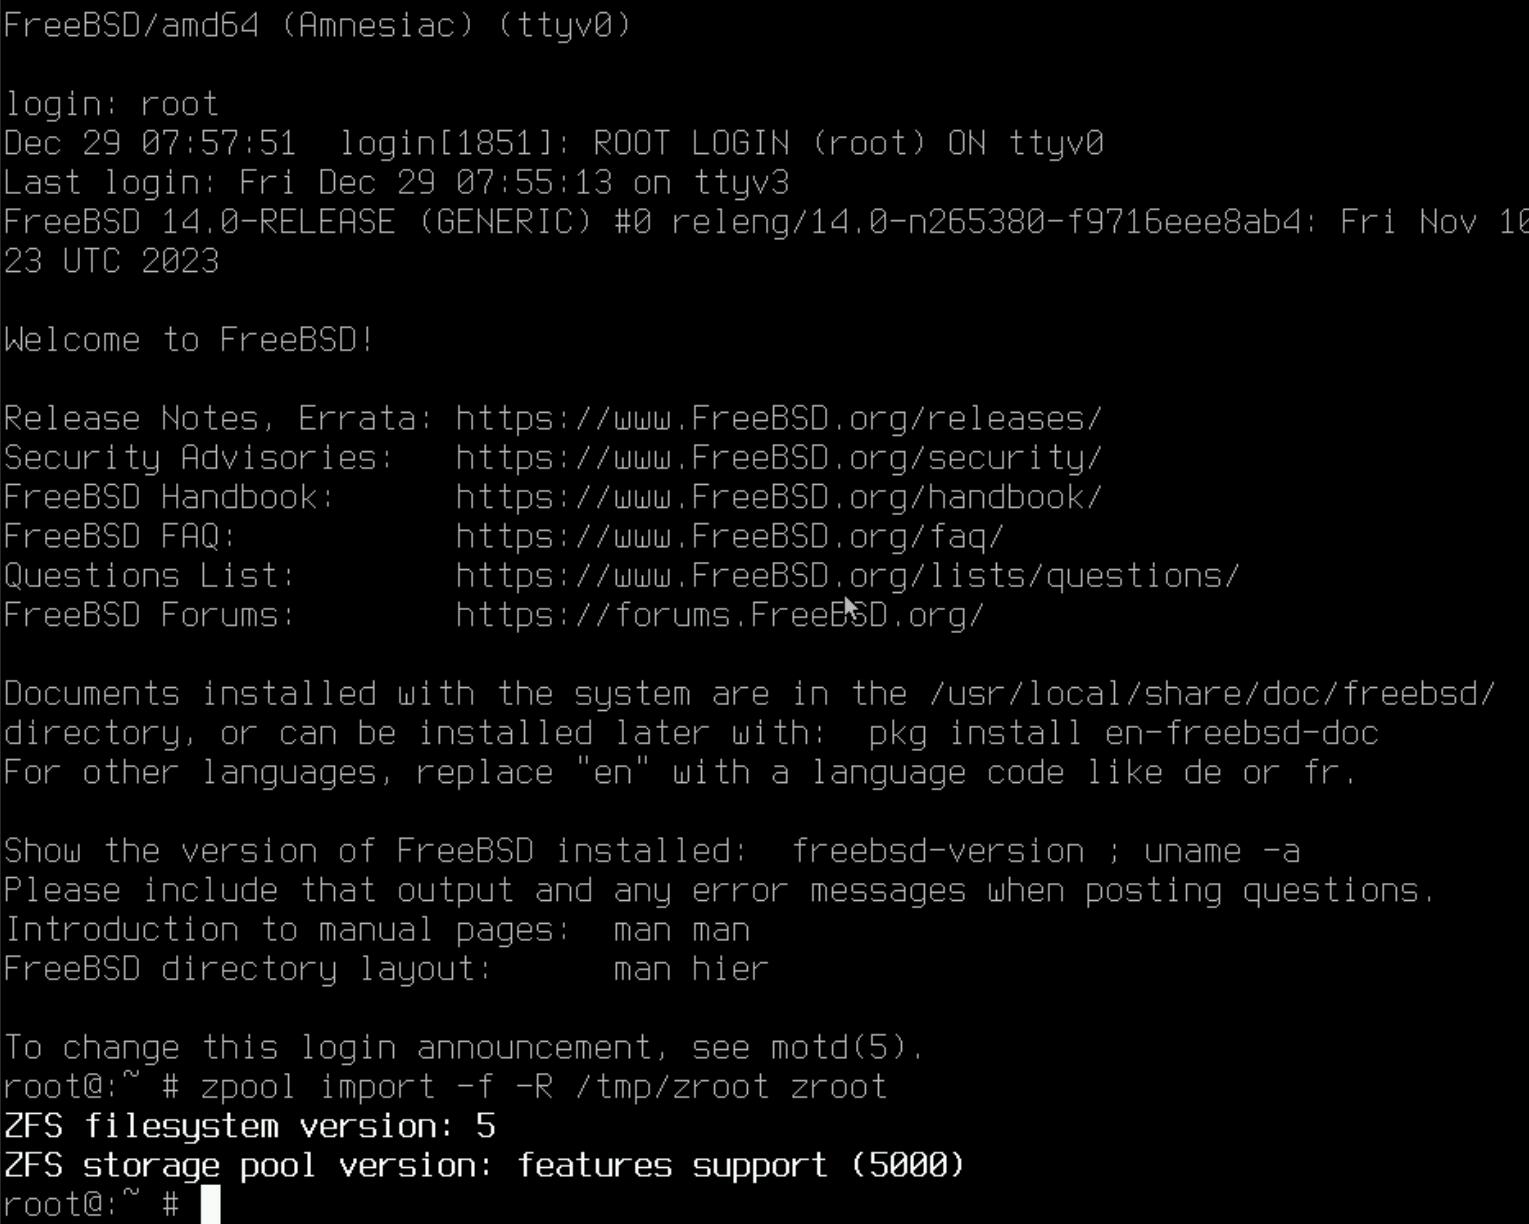
Type root to login, no password is needed.
And then you can mount your zpool via below command (Actually this is not needed if you only need to fix the boot issue)
zpool import -f -R /tmp/zroot zroot
Keep in mind here the only writable folder is /tmp, so you must mount your zpool here.
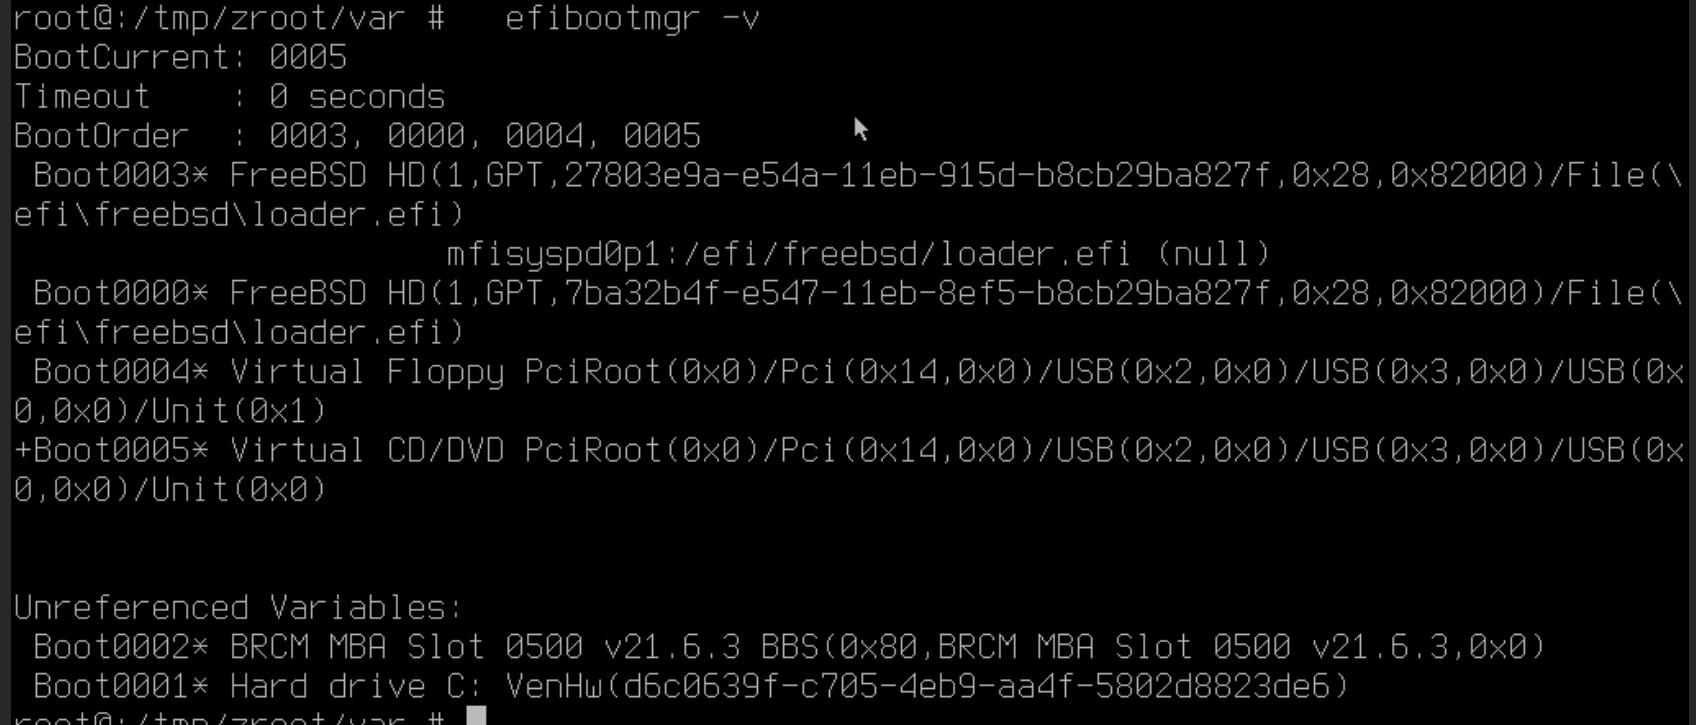
Determined the location of the boot loader via below command:
efibootmgr -v.
The one with + is the one in use, in below screen shot as I boot from virtual CD so it’s marked as USB.
The one on local disk is mfisyspd0p1
Mount the ESP partition via below command:
mount_msdosfs /dev/mfisyspd0p1 /boot/efi
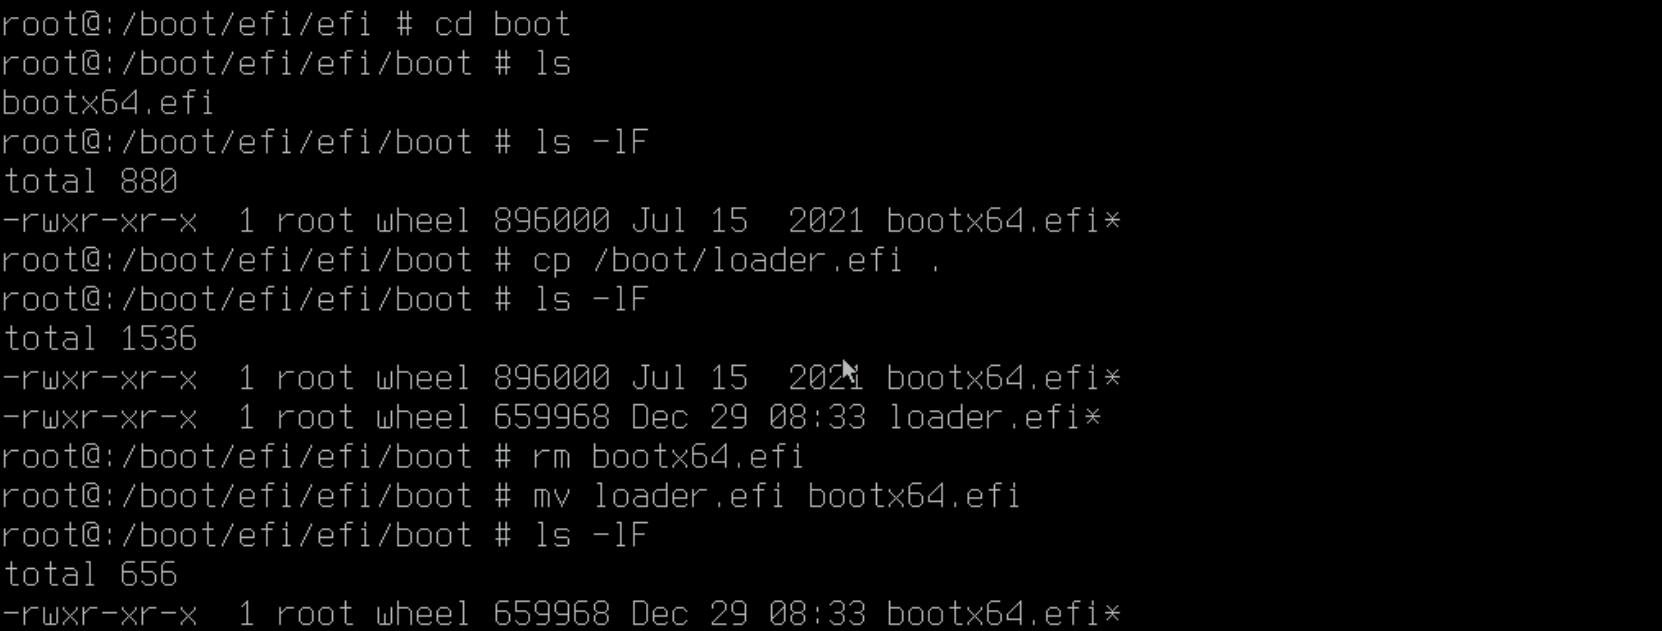
And then run below files to copy the EFI boot loaders from CD to local disk.
cp /boot/loader.efi /mnt/efi/freebsd/loader.efi
 cp /boot/loader.efi /mnt/efi/boot/bootx86.efi
Then reboot,
Then I got an error complaint UEFI is broken.
Then tried to boot into livecd and copy the files again, then reboot.
This time no error, just complaint not able to boot.

So what’s happening?
I remember when I copied the EFI loader, there are some errors from the HBA card.
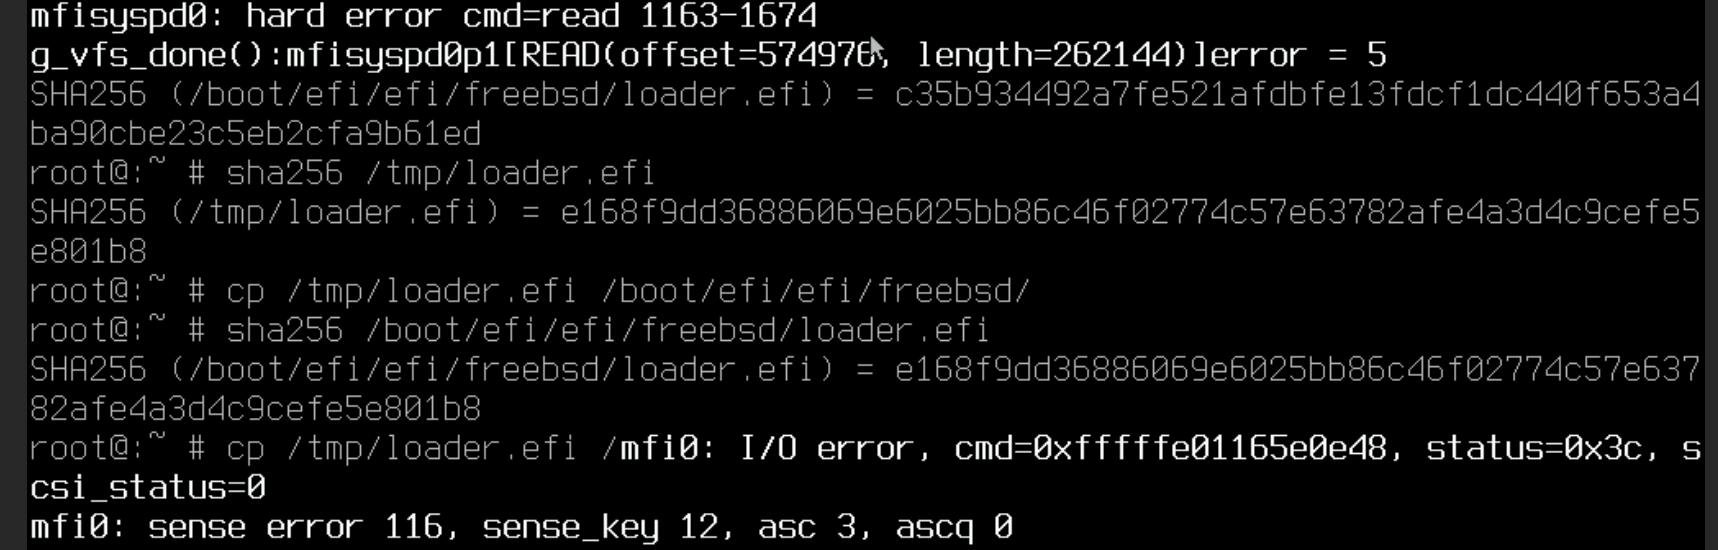
Then I checked the sha256 of the loader.efi on CD and on local disk, looks like the loader on local disk is corrupted.
This is a known issue for several years. The default drive in FreeBSD is not working properly with mfi driver (I’m using dell h330). So the fix is
Option 1, when you use livecd to boot, select 3 and enter below command to load the right mrsas driver:
set hw.mfi.mrsas_enable="1"
boot
Option 2, keeps copy the file to hard disk, and then use command sync to force OS to write data to disk. And then check the sha256 of the file. Due to the default driver is not stable, I tried about 10 times, finally got the loader.efi copied to the right position.
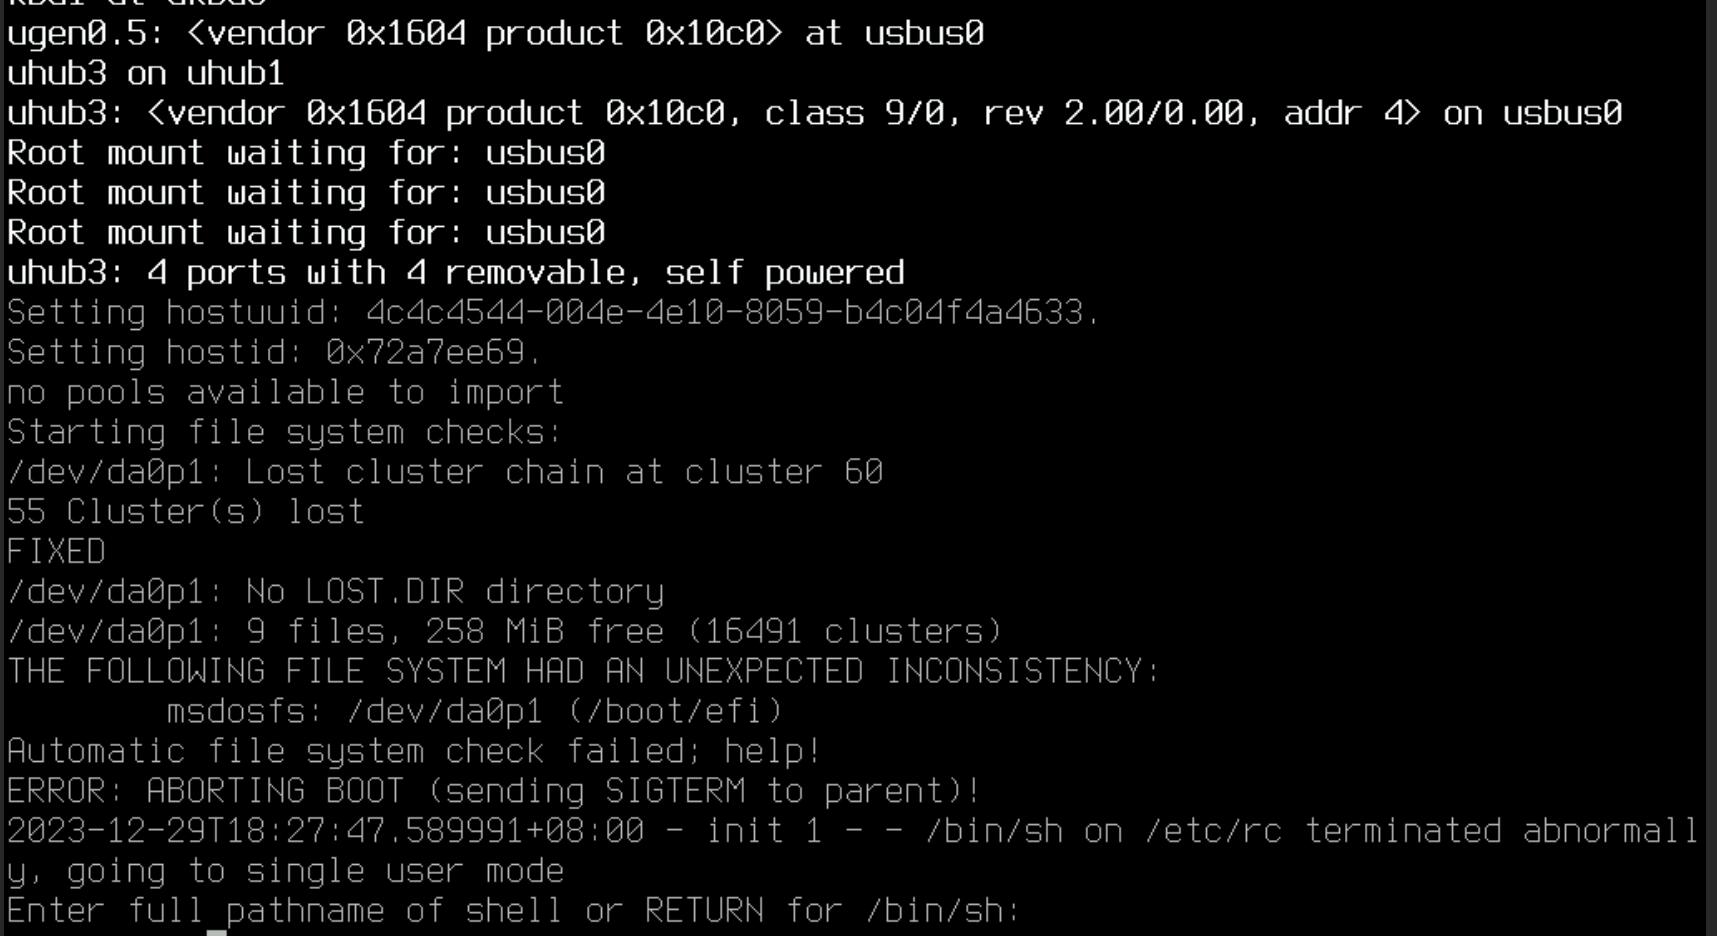
Then reboot. This time server can boot successfully, but it booted into single mode.
That’s because we replace the file via livecd, so just run fsck to fix it
fsck /dev/da0p1
Then reboot, all good now.